
Originally my ’74 Verona, Uber, came with a set of modified 6-series (E24) rear seats. While these seats looked the business, they rarely got used, were the wrong color and were begging to be yanked. Since we do a lot of fairly long distance traveling to rallies and shows, I decided to remove the rear seat entirely and convert the space to a more usable storage area.
What you will need for this project:
-a 4×2 feet sheet of plywood
-a couple cans of spray adhesive
-a jig saw
-about 6 feet of carpet (6 feet wide)
-sandpaper or a hand sander
-carpet tape
-velcro

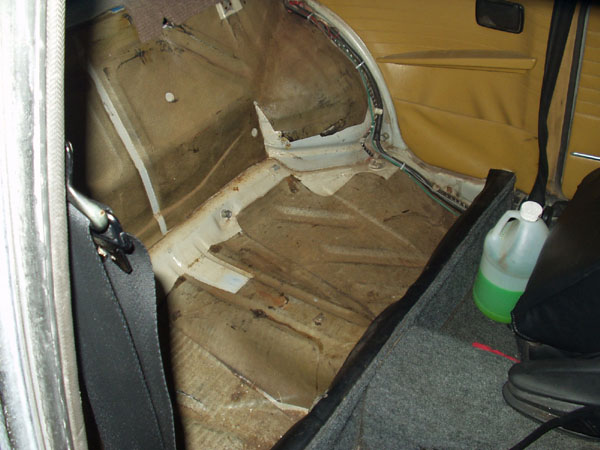
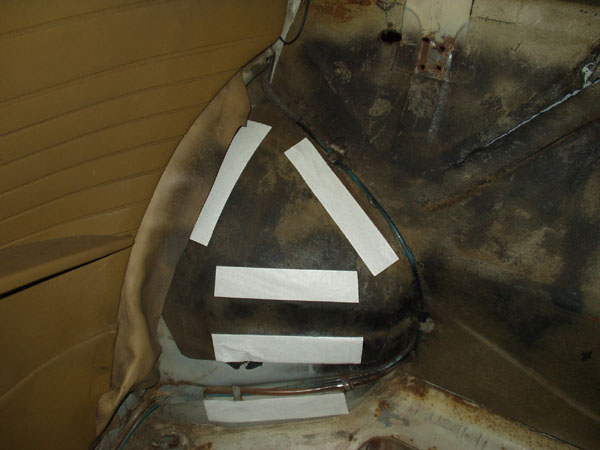
The first step was to pull the rear seat. The DIY modifications to the E24 seat that the previous owner had made were a bit sloppy, but the seat looked just fine. It came out without much fuss, not unlike the stock rear seat that only require a lift of the bottom portion and the removal of a few screws. I then used a large sheet of cardboard to create a template for the flat area under the seat.
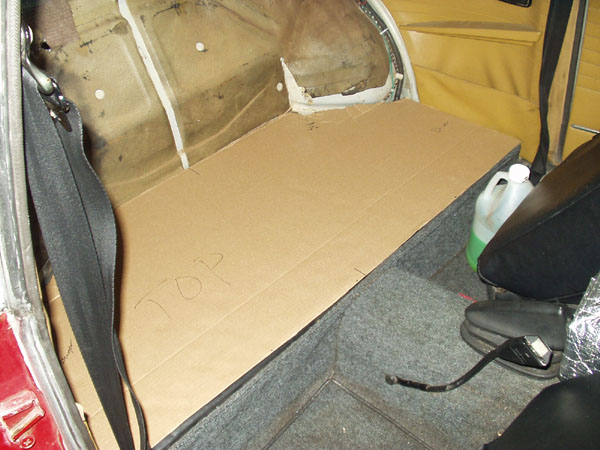
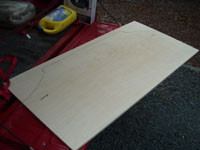
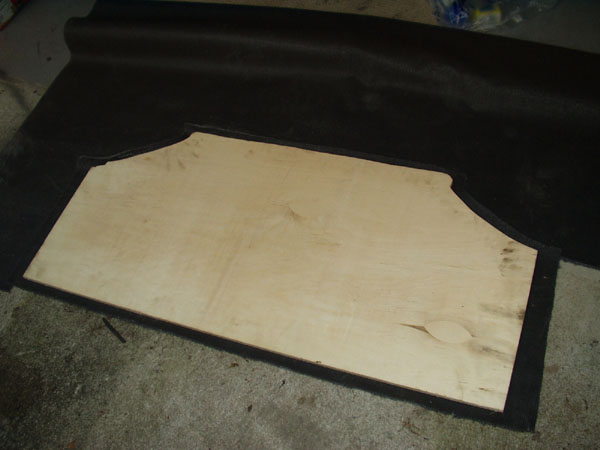
Next I used a sheet of 1/2″ plywood from Lowe’s to replace the seat. Luckily a 4′ x 2′ piece is just about the right size and readily available at most big box hardware stores. The rear seat well has a small lip at the back where the bottom portion of the seat rested on. Using that lip and the kick plate you can easily rest a plywood cover to create a flat, level surface. I traced my template shape onto the plywood and began cutting with a jigsaw (also purchased from Lowe’s for about $20).
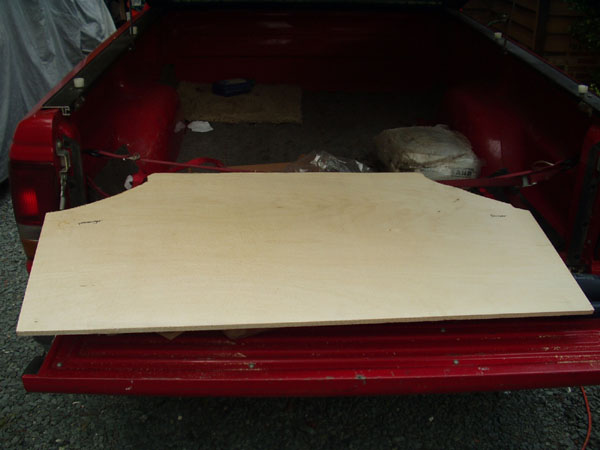
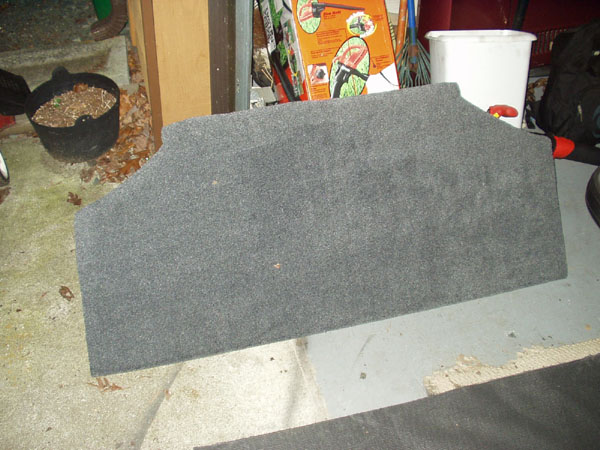
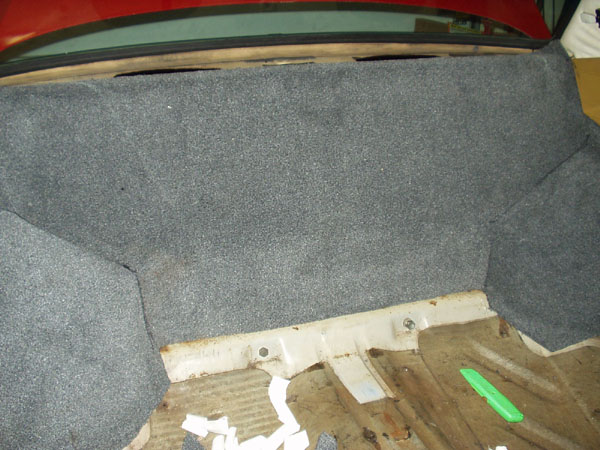
With the oldest hand sander in the world I smoothed out the rough edges and began laying out my carpet. I used gray marine carpet which is the cheapest stuff Lowe’s sells, I think. The wood and carpet backing was coated with spray adhesive. I laid the carpet on the plywood, smoothed out the wrinkles and trimmed the excess from around the edges. If you are smart, you’ll leave a bit of overhanging carpet on the front edge that faces the front of the car. Fold it over the edge and glue it down, it’ll look nicer that way once it is installed. I wasn’t so smart. I also trimmed a piece of carpet for the rear parcel shelf. Eventually I’ll make a new parcel shelf insert with some masonite and black vinyl covering, but the carpet piece worked just fine.

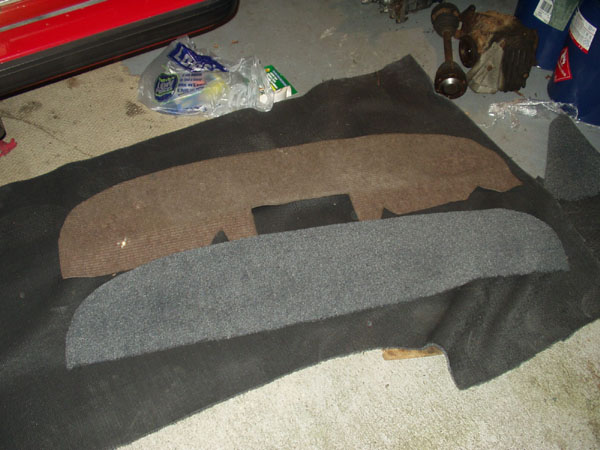
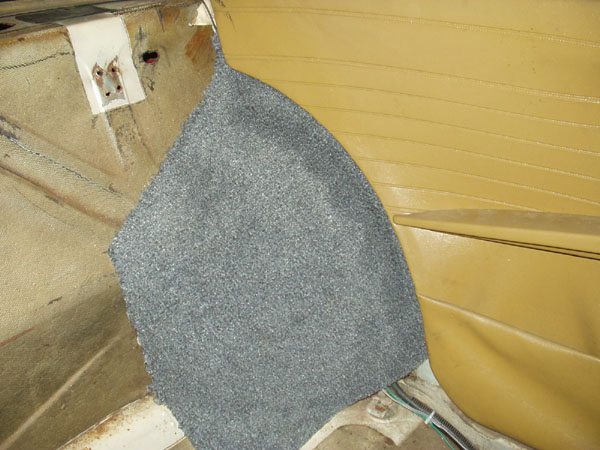
Next I cut two pieces of carpet to fit over the exposed shock tower bumps. A larger piece was cut to cover the rear firewall as well. Using double sided carpet tape to attached the pieces worked like a charm.
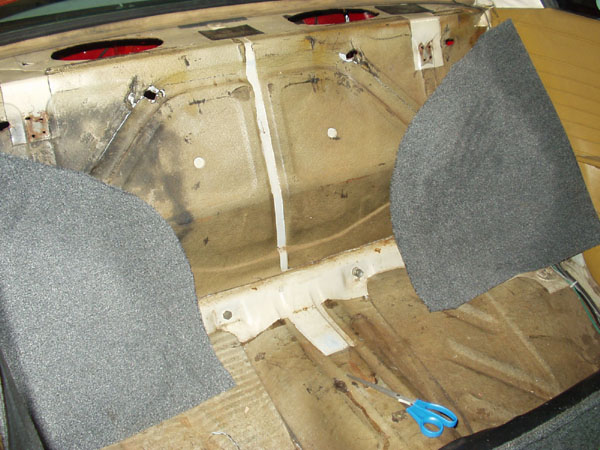
Finally I cut a few pieces of self-adhesive velcro strips and attached the hook sides to the top of the kickplate and the little lip where the back of the plywood insert rests. I attached the loop side of the velcro strips to the bottom of the plywood. This keeps the plywood panel from sliding around on the autoX course. I also added a couple sets of standard eye hooks to use with tie down straps.
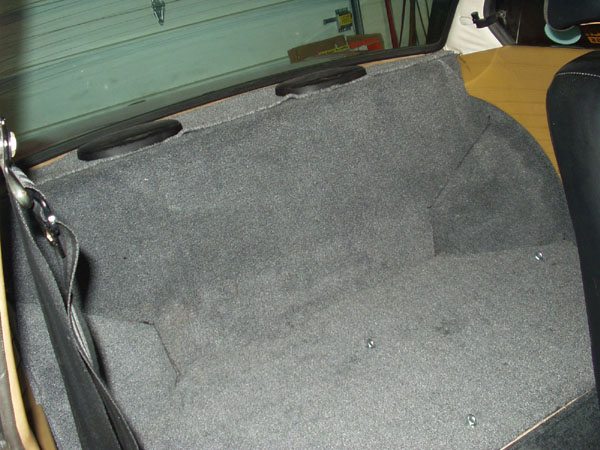
The whole project only took me a few hours to complete and the total cost of materials including a new jigsaw was about $70.