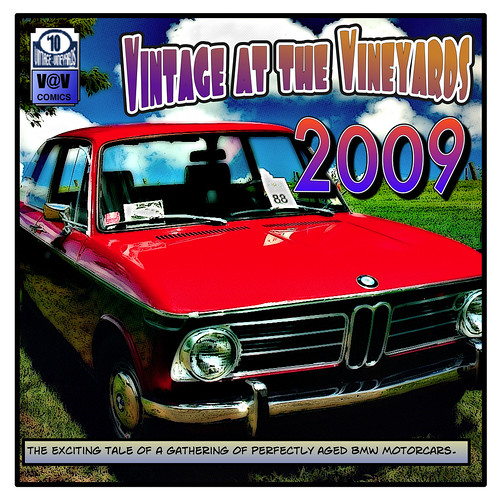
My buddy Scott, Mr. Vintage at the Vineyards himself, added a few personal touches to the ’68 2002 pig cheeker I sold him. In addition to getting the car running, swapping in a new clutch, welding up some rot, refinishing those awesome BWA wheels, adding a clever rally name and driving the car to V@V from Winston-Salem to Dobson, NC…he also added these two essential bits.
Trunk lid refinishing
Finally made a little bit of progress on the project car. After a few minor projects on the red car, our MINI and the Ford Ranger, the little turkis car is back in the spot light. The dust flew, a pile of blue tinted carnage remained while a shiny trunk lid emerged.
Thanks for your T-shirt purchases!
Hey, thanks to the few folks who have been buying up some of my TurningWrench “Beginner’s Guide to AutoX” t-shirts from Zazzle.com. I’ just added two more different shirt styles!
Tips for photographing vintage cars
While technically this isn’t all about fixing vintage cars, it is a project/hobby of mine so I deem it worthy of posting.
Here are a few handy tips I’ve picked up after photographing over 40 different car shows and races.
Tip #1 – Get yourself a polarizer.
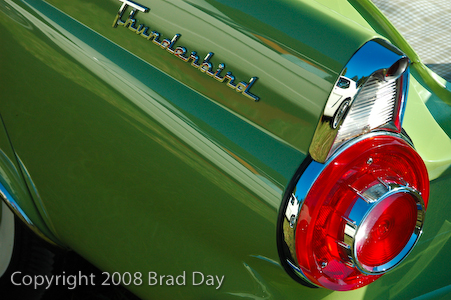
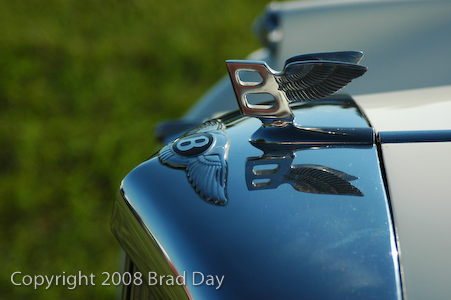
Circular polarizers are a must have for shooting cars. They can reduce glare in bright sunlight but they also help to make colors appear more saturated. By adjusting the polarizer’s orientation you can really bring out some nifty details in reflections as well.
This is more of an option for DSLR users as I’m not aware of any point ‘n’ shoots that incorporate polarizing filters. I’ve bought cheap polarizers from eBay and Circuit City and have been happy with the results.
The nifty blue reflection on the chrome is enhanced by the polarizer in this shot:
Tip #2 – Don’t shoot from the next county
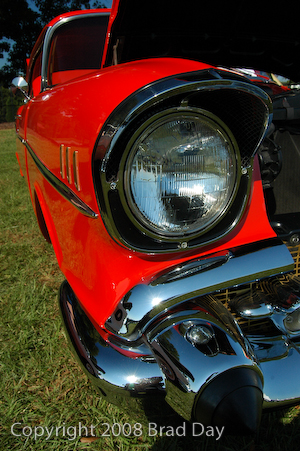
I really dislike photos of cars that are taken from 20 feet away at car shows. You don’t always have to get a picture of the entire car, group of on-lookers and the show field behind all in one shot. It’s OK to just get a pic of one vehicle, even if you don’t capture the whole car. And there is no rule that states the subject has to be dead center with 4 feet of empty space surrounding that Mustang.
Sometimes I’ll take a whole car snapshot for later reference but I feel the better looking shots are ones that don’t necessarily look as if you are trying to capture the whole field in one snap.
Tip #3 – Find the lines
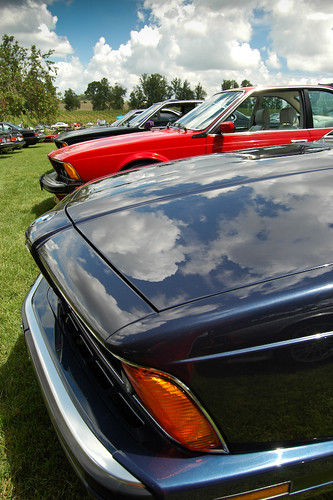
Vintage cars have some serious body lines. You don’t see sculpting like this on new cars and it often makes for great images.
Tip #4 – Get up and get down
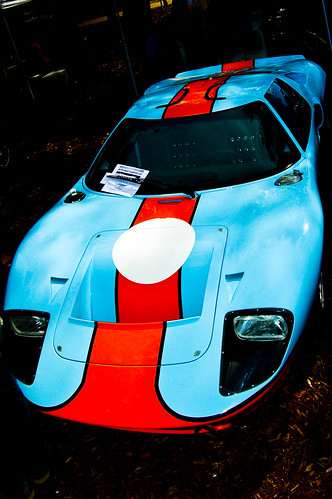
Viewing pictures of cars shot from eye level is just fine if you want to showcase everything you saw as you saw it. But when you actually have a close look at a sexy vintage car, who stands at their full height to have a peek at the rich wood grain and leather interiors or the one of a kind tail lights? Take a seat (or a knee), get some ground level pictures that really detail that GTO’s stacked headlights. By the same token, creative shots are often as simple as holding the camera up above your head and snapping a few un-aimed pics.
Camera held at arms length above my head:
Tip #5 – Don’t forget the peeps
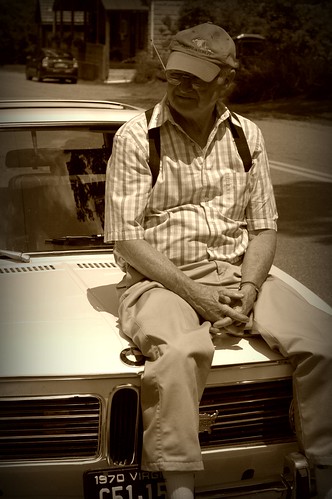
I’ll be the first one to admit that I don’t get enough shots of people at car events. But the interaction of people and vintage cars is what racing or concours shows or swap meets are all about…and there are usually some characters at any one of these events.
I snapped this one inconspicuously as we were just stopping our drive though the WV hills for a lunch break:
Tip #6 – Do something crazy
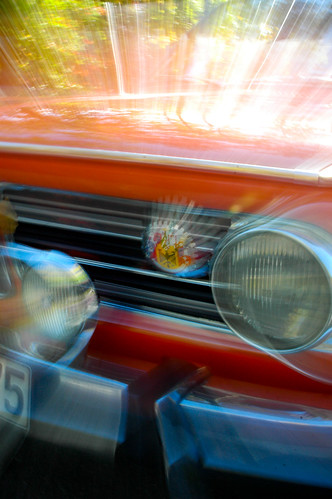
Some cars are so fast that they look as though they’re moving even when standing still. Others are so sexified that they hardly require any thought at all to make a fine looking picture. But not every image has to be a perfectly composed portrait of automotive genius. Tweak your shutter speed and take a long exposure image to get interesting blur effects. Do a zoom burst exposure to highlight one area of the car. Photoshop the heck out of the image to really bring out those vintage paint schemes.
Zoom burst exposure, 1/6 second exposure while zooming in with telephoto lens:
Shock tower repair – part 2
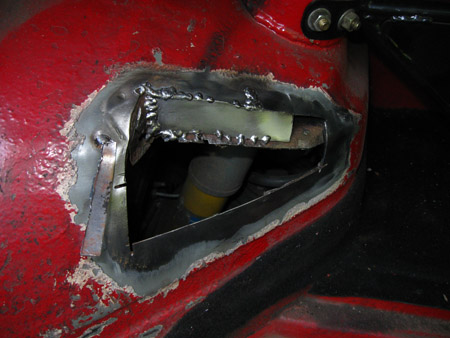
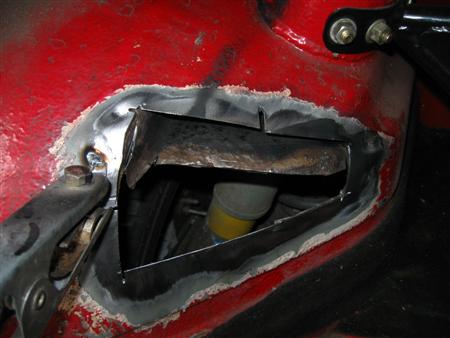
And that last little bit of repair before we head up to the PVGP has also been completed. The driver side shock tower has been welded up and we’re ready to roll. Not much to say here so I’ll just let the pictures do the talking.
Hunting down the elusive fuel stink
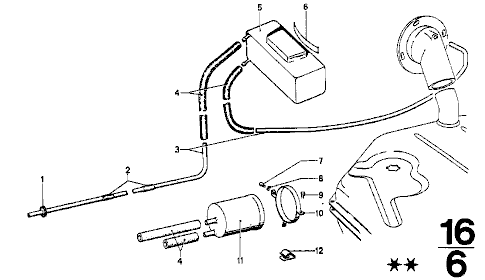
The pursuit of the dreaded fuel smell in an old BMW 2002 has been the bane of many an enthusiast and owner. For the past year I have been chasing down the vaporous demons. One drive would be a sweet smelling back road carving session, the next a brain cell obliterating fuel huffing romp. From what I could tell, only heavy acceleration and tight, fast turns instigated the scent.
My first coarse of action was to replace all of the under-hood rubber seals. That did nothing. I replaced the fuel line. Nothin’. I then noticed that my 40/40 weber carb had developed a leak which resulted in a puddle of gasoline collecting on the hot intake manifold. That puddle quickly evaporated and rushed into the passenger cabin, searching for I.Q. points to destroy. A new 38/38 carb helped a bit, but I was still getting heavy fumes when I’d take quick turns on a full tank. The fuel tank itself was then suspect. But after removing it and pressurizing with compressed air, I found no obvious leaks.
Continue reading “Hunting down the elusive fuel stink”
Clutch pedal linkage – upgrade
My DIY clutch pedal linkage worked well enough to get us down to V@V and back, but the bolt and nut kept loosening up while clutching our way through the back roads. An upgrade was in order. As mentioned before, I had been searching McMaster-Carr.com for a suitable heim-jointed replacement. And I found one.

Shock tower repair – part 1
A little rust has been poking through the driver side shock tower for a couple years now. Nothing major as 2002 shock tower rot goes, at least it wasn’t around the crown where the shock mounts to the tower.
So as I had the gas tank out of the car to hunt down the source of a strong fuel odor (more on that later), I decided to start cutting. Here’s a shot of what was removed. I took out a fair chunk to be sure to hit fresh metal on all sides. Normally you wouldn’t be able to see clear through to the Bilsteins.
Shouldn’t be a bad welding job. More to report after I’ve warmed up the MIG.
Follow TW on Twitter
Want twitter updates on old, rusty BMWs? Well, you’re in luck. Follow me at twitter.com
TurningWrench Gear
Do you autocross or just like t-shirts with inside jokes about autocrossing? How about BMW 2002 or BMW 3.0CS posters?
Well then, head on over to the TurningWrench.com Zazzle store for some original illustrations and t-shirt designs made just for you, automotive enthusiast! (or click the sidebar link ——->)


