
Sadly our trip to The Vintage did not start out well. I had the car running like a fine German top but once we loaded all our luggage (beer) into the 02, it started pinging and overheating…it didn’t help that the temperature was around 95 that day. So, it’s time for a radiator upgrade.
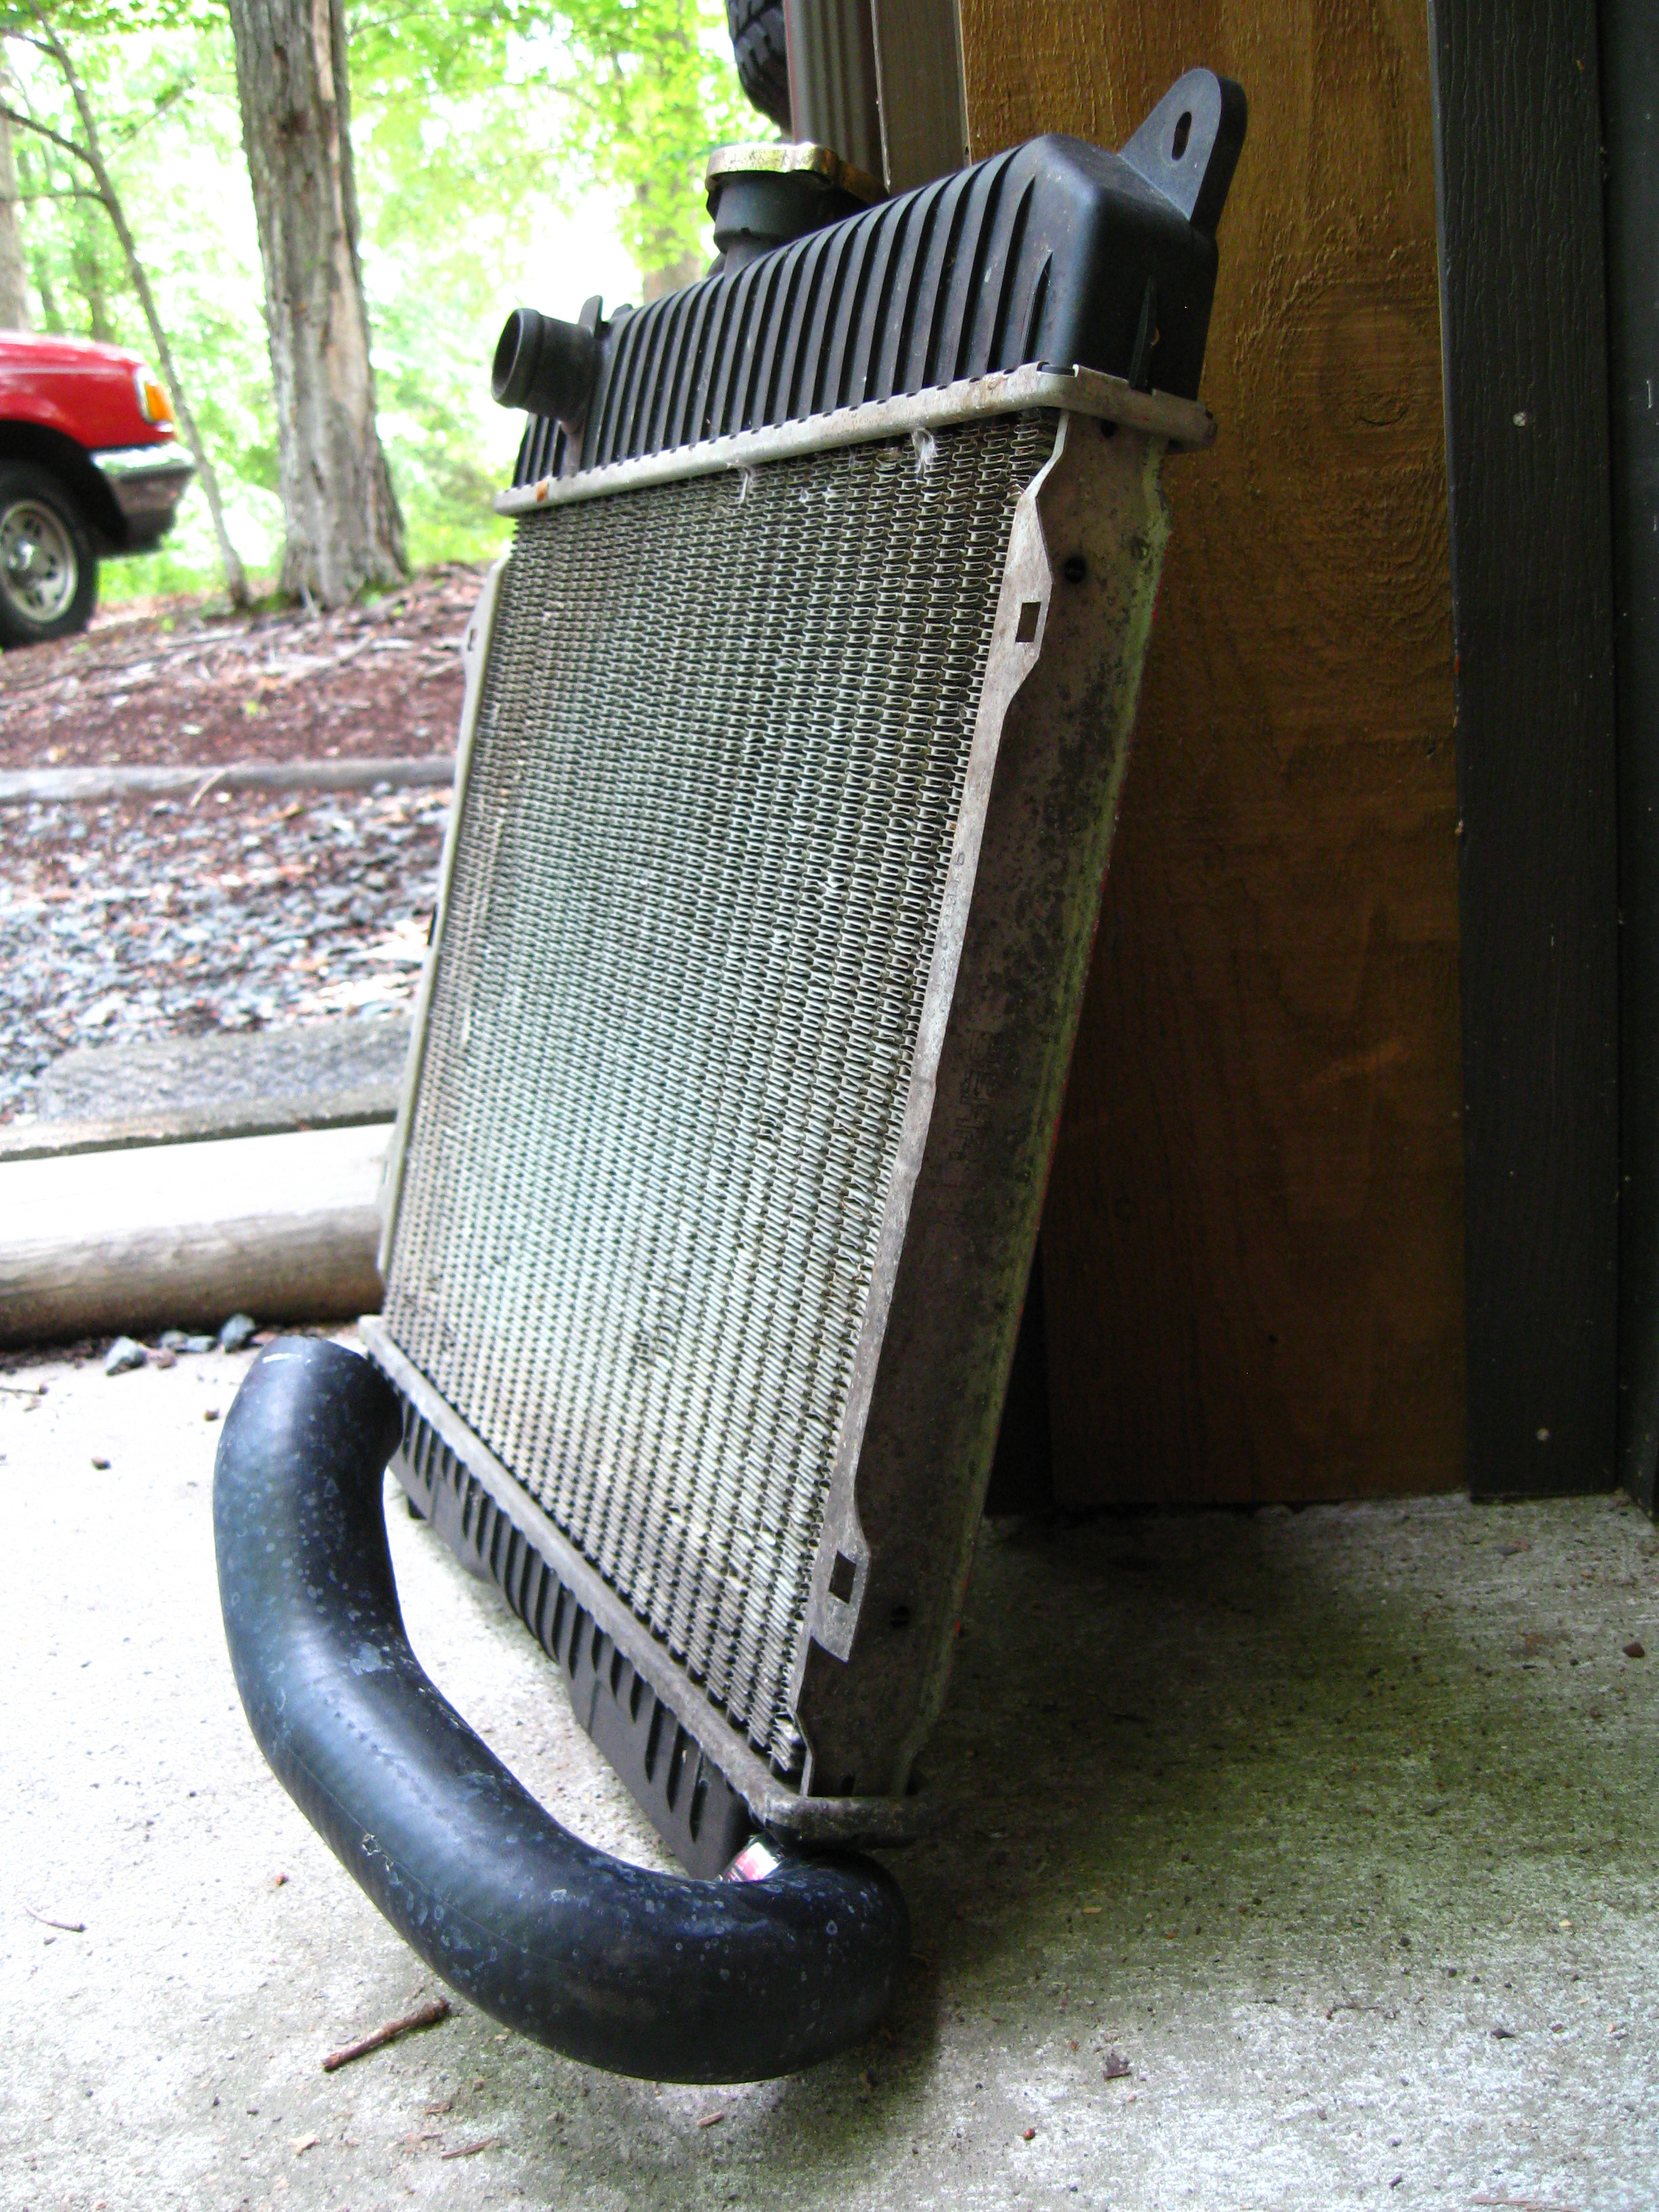
Luckily my good 02 buddy (and savior of many a stranded 02er) Mike Pugh had two spare 320i radiators (Mike is also fond of crushing poor, innocent E21s). There are a couple ways to go about installing a 320i radiator. I opted for the rubber hose stand off method…using thick rubber hose to create stand offs and running bolts through the front nose. That’s the easy part. The one issue, noted in the BayArea02s link above, is that you have to swap the 02’s lower radiator hose with a later 320i hose or find a suitable replacement that fits.
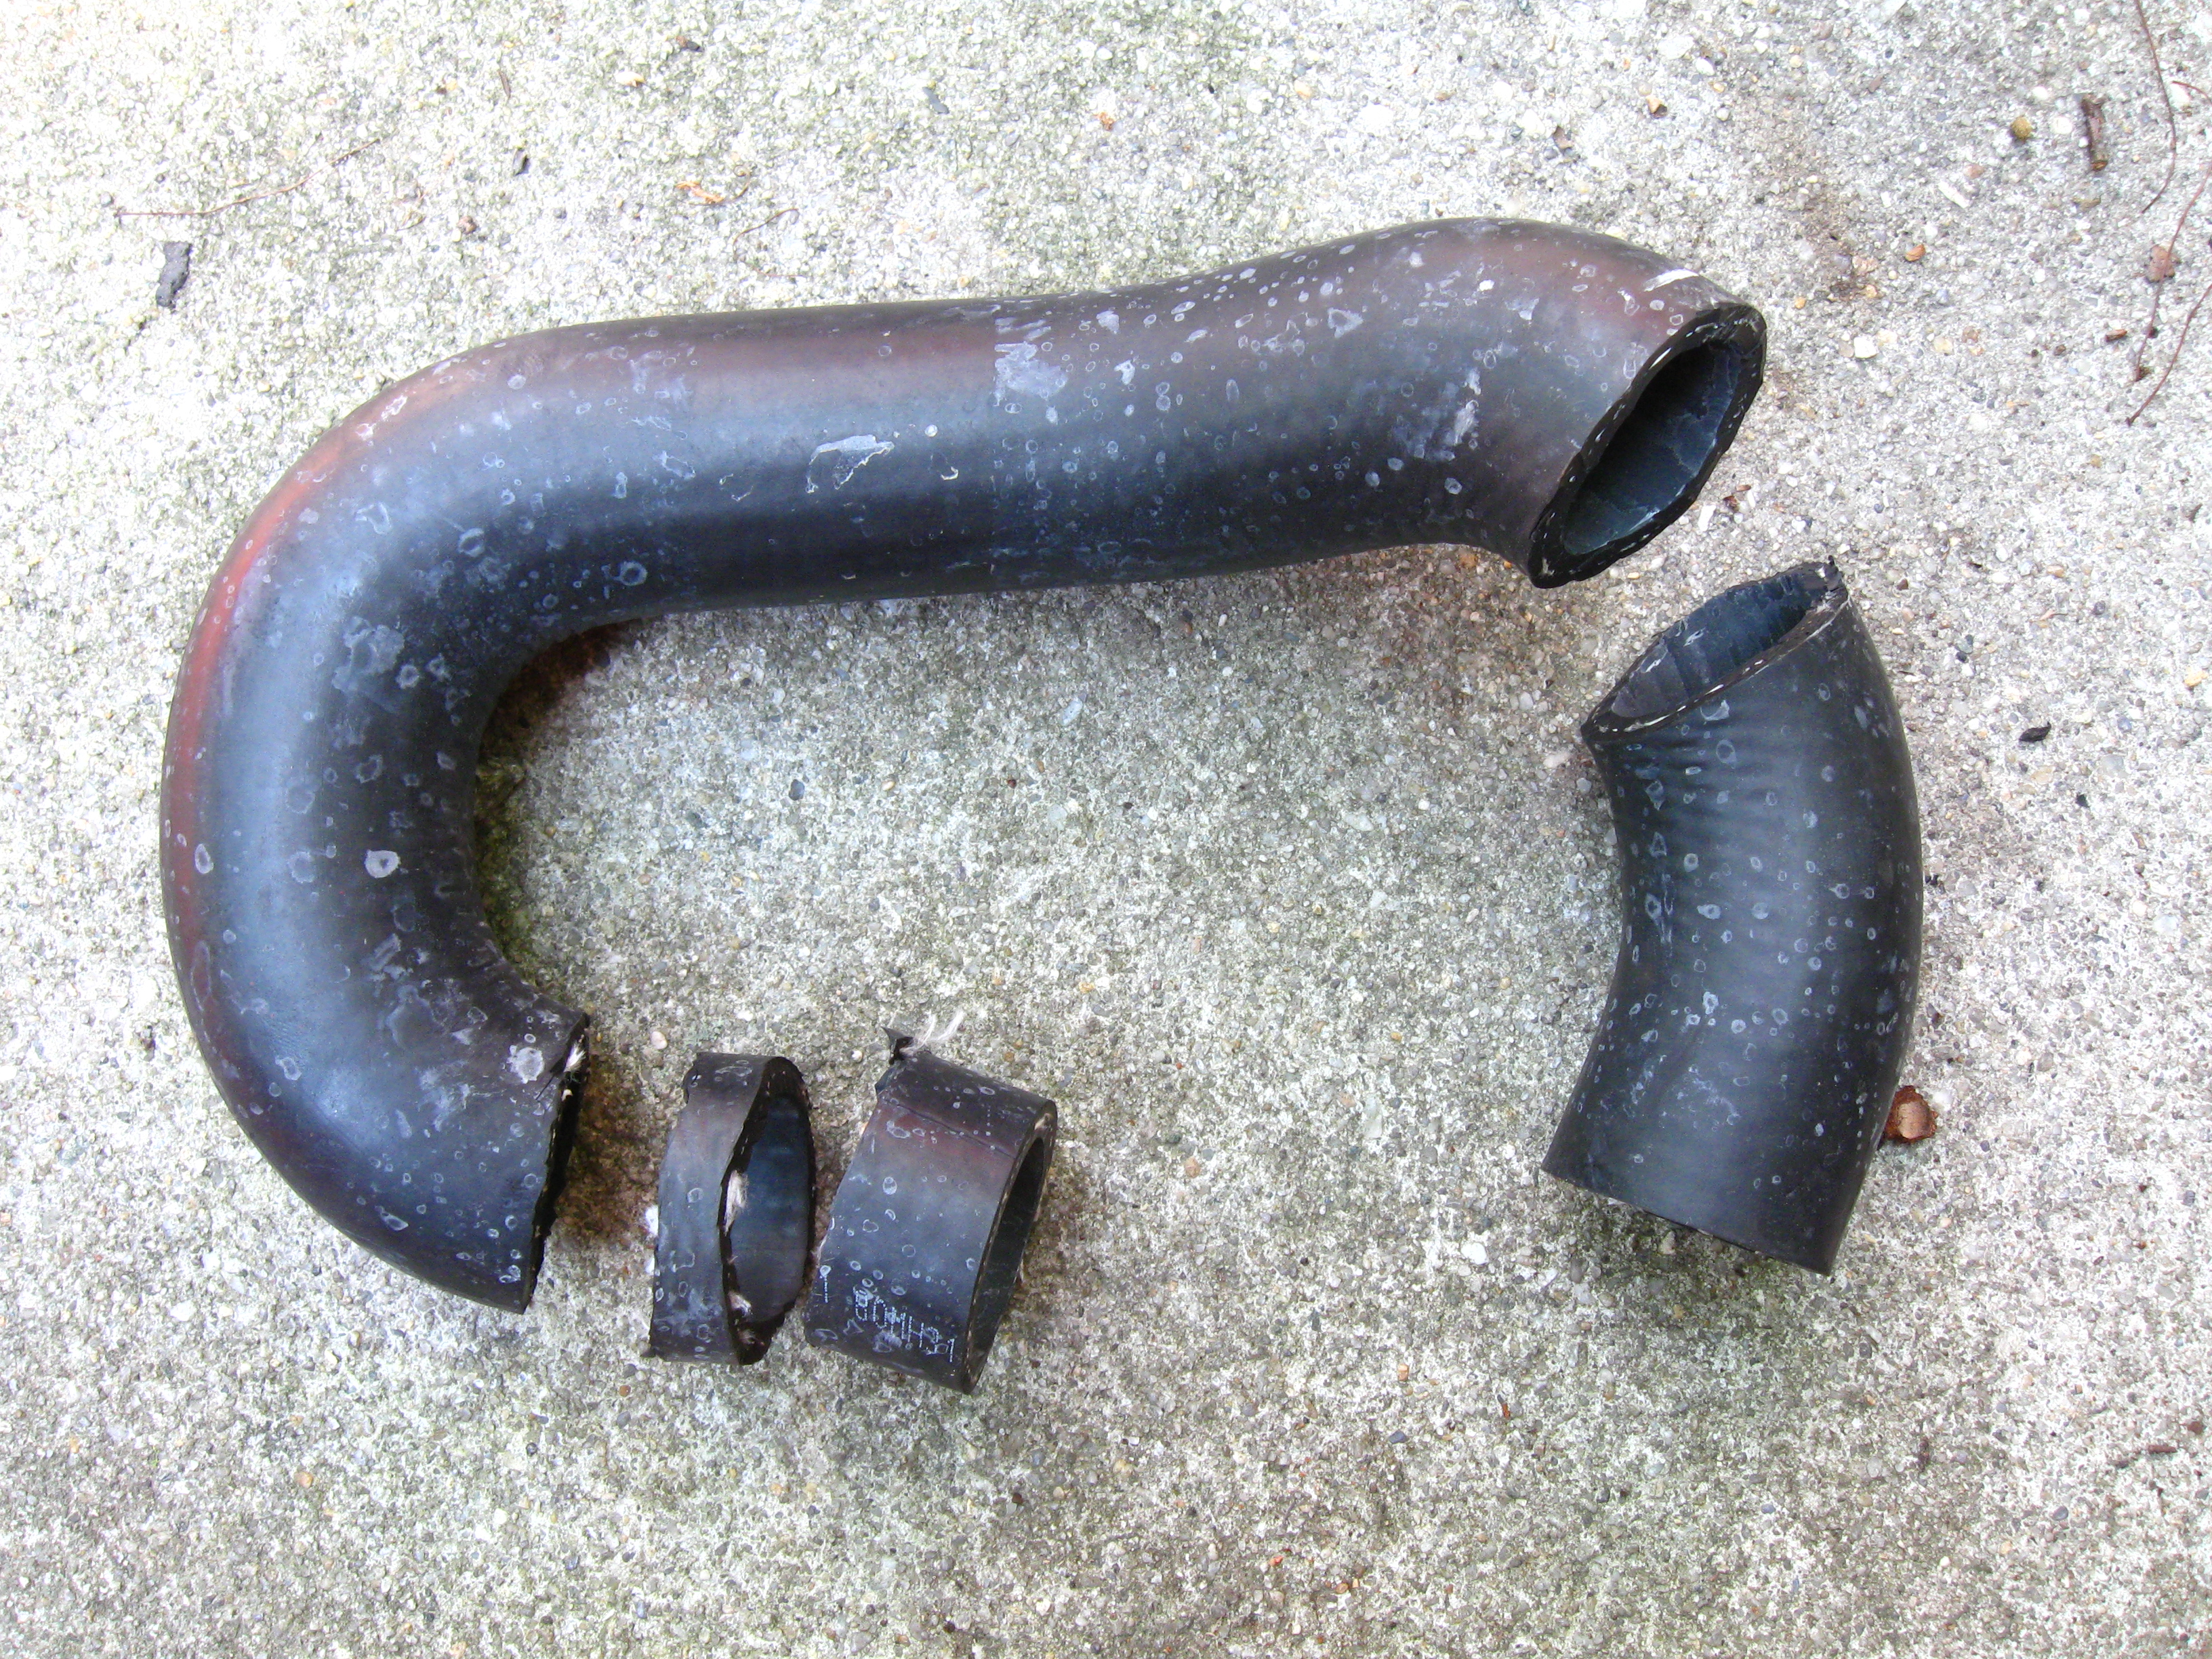
Luckily after searching the BMW 2002 FAQ, I stumbled upon this post. The clever 02er who posted it figured out that the upper radiator hose for a ’87-’94 Pontiac Sunbird with the 2.0L engine actually fits almost perfectly with some slight modification. So I went for it. Here is what the hose looked like from NAPA, unmolested (NAPA part # 8393):

In order to make it fit correctly and curve back up to the thermostat, you need to cut off a bit from each end. Here is the bit I cut off the curved section that fits into the radiator:

But after testing fitting I realized that wasn’t quite enough, so here is revision two:

And then the removal of the upper section that connects with the thermostat:
And here it is all buttoned up pretty-like:
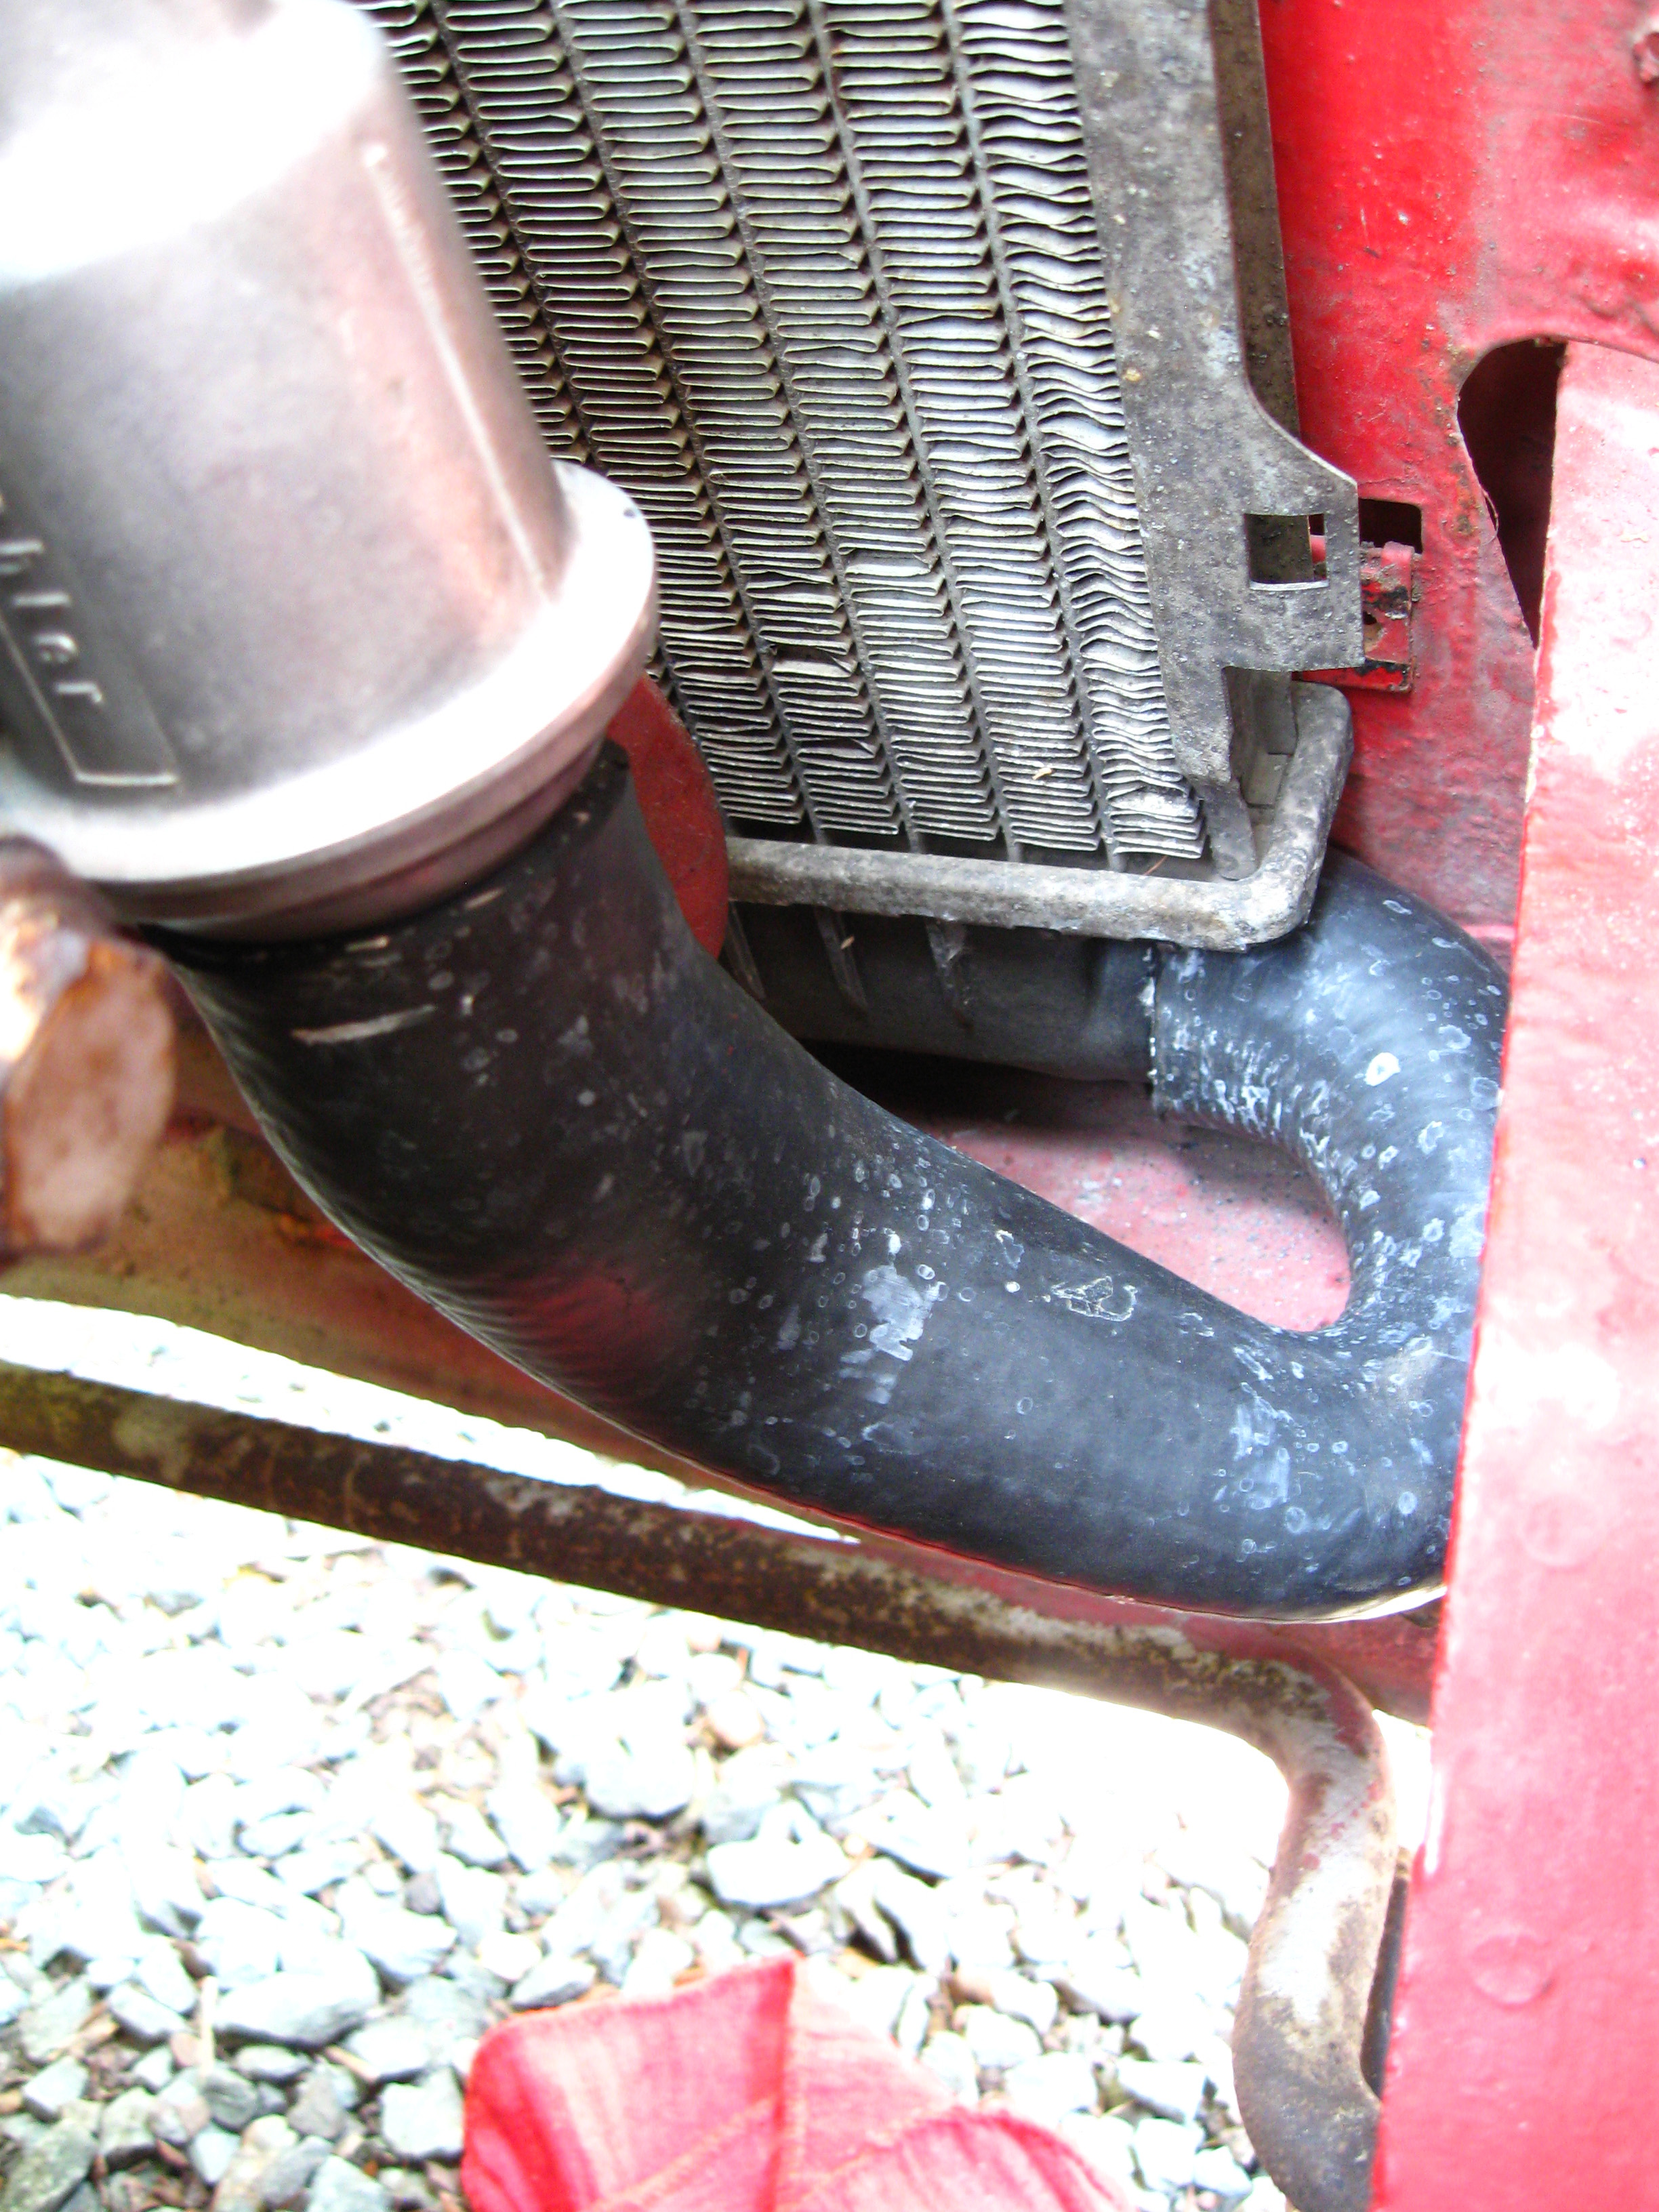
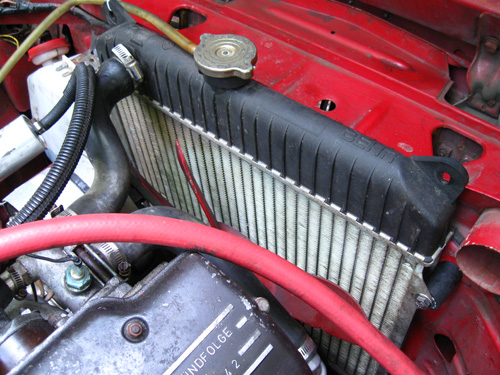
I had to test fit and re-fit the radiator several times to get the hose just right but once it was installed, it fit nicely with just a slight flat spot near the thermostat. Now don’t get all uppity and think you can start tightening down hose clamps willynilly. Leave the clamps on there loosely so you can adjust the positioning as needed. Here is roughly the angle the hose will be positioned once installed:

Once the hose is fitted, you can fiddle a bit with the positioning of the radiator in the engine bay. I pushed mine as far towards the (US) passenger side fender well as possible. Then I marked the spots where new holes would need to be drilled to fit the mounting bolts. What worked well for me was using the original mounting hole (with the metal tab removed) for the passenger side upper mount. Then I marked and drilled 3 new holes.
Back to the rubber hose stand offs. I had a spare piece of thick rubber hose in my tubing stash. The inner diameter was a bit big, but it worked well. I cut 4 pieces of the hose into 46mm lengths (or 1 13/16″). I left a couple extra millimeters on there so the hose pieces would compress slightly when mounted and help keep everything good and snug.
But, as the tubing was just a bit too big to fit properly, I had to shave just a smidge off one edge to fit the stand offs snugly against the two lower radiator brackets and allow the mounting bolts to line up correctly. Worked perfectly. A fresh razor cut through the thick rubber with ease.
I picked up some stainless steel nuts, bolts, washers and hose clamps (you’ll need slightly larger clamps to fit over the new hose and barb on the 320i radiator) from Lowe’s to do the install. I know it’s blasphemy but I went with standard bolt sizes, not metric, because…well, Lowe’s has a pretty suckity selection of metric stuff. The parts I used were:
– 4 x Hillman Hex Cap Screws 5/16″ x 2 1/2″ – part # 881764
– 4 x Hillman Nylock Nuts 5/16″ – 18 – part # 882041
– 8 x Hillman Flat Washers 5/16″ – part # 882050
– 4 x Hillman Split Lock Washers 5/16″ – part # 882061
– 2 x 1″ – 2″ Stainless Steel #24 Hose Clamps – part # 64927 (found in plumbing section)

Once you’ve got your rubber hose offsets and hardware ready to go, installation is pretty easy. If you’ve got the lower radiator hose line up just right, the thermostat should be easy to fit and tighten down. Install the rubber stand offs with the new hardware.
I opted for lock washers, which may be overkill given that I used Nylock nuts. But, I don’t want this thing coming loose and ending up in my radiator fan. Speaking of which, once it was all locked down nice and tight, I had plenty of clearance in front of the fan, about as much as the stock radiator.

Tighten up all your hose clamps and that’s it. Everything looks nice and tidy and I’m hoping this little upgrade will keep my 02 a bit happier when the temps hit 90+.
All that is left is to fill it all up with decent BMW coolant and bleed the air out of the system. I usually bleed the air out by filling the radiator as much as possible, then squeezing the upper radiator hoses to help get any bubbles to rise to the surface. Once the gurgling stops, I start the car, let it run for a few minutes then double check the coolant level when the engine has cooled down. Fill and repeat until no bubbles burble out or you stop seeing a drop in coolant level. Check for leaks and hit the road!